How to Set Up Your Shopify Store: A Beginner's Guide
Dive into this step-by-step tutorial designed for beginners but packed with insights that can help even experienced sellers.
Starting your own online business is more accessible than ever, and Shopify is one of the most powerful platforms to help you bring your store to life. Whether you're selling handcrafted jewelry, custom T-shirts, digital downloads, or niche products, this guide will walk you through everything you need to know to launch a professional and fully functional Shopify store from scratch.
1. Sign Up for a Shopify Account
The first step is simple: sign up for an account on shopify.com! Shopify offers an amazing deal of $1/month for the first 3 months as well as a 3-day free trial so you can explore the platform without any financial commitment. Choose a store name that reflects your brand — don’t worry if it’s not perfect right away; you can change it later.
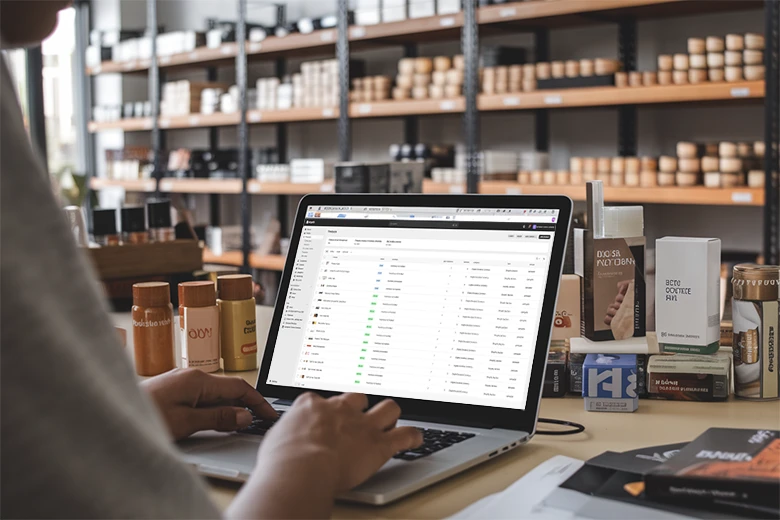
After signing up, you’ll be taken to your Shopify admin dashboard. From here, you’ll be able to manage your products, customers, orders, and website settings. Spend a few minutes familiarizing yourself with the layout and features, as this will be your business’s control center.
2. Add Your First Products
Once inside your Shopify dashboard, click on "Products" and then "Add product." You’ll want to include:
- A clear, compelling product title that uses keywords your customers are likely to search for
- A detailed description that speaks to your target audience and emphasizes benefits over features
- High-quality images from multiple angles; lifestyle shots can boost engagement
- Pricing (including sale pricing if applicable); consider your costs and competitors
- SKU or barcode (optional, but useful for tracking inventory)
- Inventory quantity; enable inventory tracking to avoid overselling
- Shipping details (like weight and size for accurate rates)
You can also organize your products into collections, like "Summer Favorites" or "Gift Ideas," which makes browsing easier for customers.
3. Choose a Theme That Matches Your Brand
This is usually the best option when starting out. You don't have to spend too much but always have the option to extend the theme with the help of a designer/developer.
Navigate to "Online Store" > "Themes." Shopify offers both free and paid themes. Free themes are great for getting started, while paid themes often include additional features and customizations like advanced filtering or animation.
When browsing themes, consider:
- Your industry: Choose a theme designed for fashion, electronics, food, etc.
- Your product range: Themes designed for small catalogs differ from those made for large ones
- Mobile responsiveness: Most traffic comes from mobile devices
- User reviews and demo previews
Choose a theme that reflects your brand's personality, whether it’s modern and sleek, fun and playful, or bold and edgy.
4. Customize Your Theme
Click “Customize” on your selected theme. Here, you can tweak layouts, fonts, colors, homepage sections, and more. We offer a guide on theme customization too!
Some tips:
- Add a logo to the header to build brand recognition
- Create a strong first impression with a homepage banner, hero image, or slideshow
- Highlight featured products, collections, or seasonal promotions
- Make sure your navigation is simple and intuitive; limit top-level menu items
- Add trust signals like free shipping banners, customer reviews, or satisfaction guarantees
Explore each section in the theme editor — header, homepage, product pages, footer — and personalize them with your content.
If you're looking to take that theme to the next level, you can hire a designer and developer that can customize any of the elements, add features and change layouts that you can't do out-of-the-box with these pre-built themes.
5. Set Up Your Domain
You can buy a domain directly through Shopify, or connect one you already own from providers like GoDaddy, Namecheap, or Google Domains. A custom domain (like www.yourstorename.com) adds credibility and makes your store easier to remember.
To set up:
- Go to "Settings" > "Domains"
- Click "Buy new domain" or "Connect existing domain"
- Follow the prompts to complete the process
Once connected, Shopify will automatically configure your DNS settings. Don’t forget to set your primary domain and enable SSL encryption for customer security.
6. Configure Shipping Settings
Shipping can get tricky, but Shopify simplifies the process. Go to "Settings" > "Shipping and Delivery."
Define:
- Shipping zones (where you’ll ship to: domestic, international, or specific countries)
- Rates (flat rate, free shipping, or real-time carrier-calculated)
- Handling fees (optional) to cover packaging or processing
- Package sizes and weights (used to calculate real-time rates)
- Local pickup or delivery options (great for small, local businesses)
You can also create shipping profiles for different product types and conditional rates (e.g., free shipping over $50). Shopify also integrates with fulfillment services like USPS, UPS, DHL, and third-party logistics providers (3PLs).
7. Set Up Payment Providers
Under "Settings" > "Payments," select how you want to accept payments. Shopify Payments is the easiest option and supports major credit cards, Apple Pay, Google Pay, and Shop Pay.
But there are numerous payment gateways available:
- PayPal (requires linking a PayPal Business account)
- Amazon Pay
- Third-party providers like Stripe, Square, or Authorize.Net
- Manual payments like bank transfer, cash on delivery, or money order
Enable multiple options to reduce cart abandonment. Don’t forget to set your currency and tax regions under "Settings" > "Taxes and duties."
8. Choose Your Shopify Plan
You’ll need to select a plan to launch your store publicly. Shopify offers several options based on your needs:
- Basic ($29/mo): Full online store, basic reports, up to 2 staff accounts
- Shopify ($79/mo): Standard reports, 5 staff accounts, shipping discounts
- Advanced ($299/mo): Advanced reports, custom pricing, 15 staff accounts
Head over to Shopify to learn exactly what you get.
Consider transaction fees, sales volume, and feature access when choosing a plan. You can start with Basic and upgrade as your needs grow.
9. Create Important Pages
Beyond products, you’ll need to build foundational pages that customers expect:
- About Us: Tell your brand’s story, values, and mission; include team photos or behind-the-scenes content
- Contact: Include an email form, phone number, store hours, social media links, or a contact chatbot
- FAQs: Answer common customer questions about shipping, returns, sizing, or product use
- Policies: Include refund, privacy, and terms of service policies (Shopify offers templates you can customize)
These pages help build trust, reduce support requests, and improve your store’s SEO. There are of course many more that we recommend, but these would be considered the minimum at the start.
10. Add Useful Apps
Shopify’s App Store offers thousands of tools to extend the functionality of your store. These apps can help you with marketing, customer service, order fulfillment, inventory management, analytics, and much more.
When choosing apps:
- Focus on tools that solve specific business needs
- Start with a few essential apps to keep your site fast and manageable
- Regularly review app performance and uninstall ones you no longer use
The right apps can streamline your workflow, enhance customer experience, and help you scale your business effectively.
11. Test Your Store
Before opening the digital doors, place a test order:
- Enable Shopify’s Bogus Gateway for testing (Settings > Payments > Test mode)
- Run through the checkout flow from a customer’s perspective
- Confirm email notifications for order confirmation, shipping, and refunds
- Test your store on desktop, tablet, and mobile to ensure responsiveness
- Use tools like Google PageSpeed Insights to check performance
Make adjustments based on test results before going live.
12. Launch and Promote Your Store
You’re ready! Remove password protection from your store ("Online Store" > "Preferences") and officially go live.
Now it’s time to spread the word:
- Share your store on Instagram, Facebook, Pinterest, and TikTok
- Run a small ad campaign via Meta Ads or Google Shopping
- Send launch emails to your email list and personal network
- Collaborate with influencers or affiliates for reach
- Offer a launch discount, limited-time bundle, or free gift with purchase
Track key metrics like traffic, conversion rate, cart abandonment, and customer feedback. Marketing is ongoing — experiment and iterate!
Final Thoughts
Building a Shopify store is a rewarding journey, whether you're side-hustling or starting the next big brand. With this guide, you have all the basics to create, customize, and confidently launch your online business.
As you grow, continue to learn about:
- Email automation and flows
- Retargeting ads
- Customer loyalty programs
- A/B testing
- Analytics and data-driven decisions
The learning never stops, but taking that first step is the most important part.